Intel Classmate

This report is listed on Linux on Laptops and TuxMobil.
Introduction
A few weeks ago the Intel Classmate Netbook with touch screen was announced to be available in Germany. Since I was always looking for a Netbook that has a touch screen and can be converted to a tablet PC, I was very greedy to get one of these devices. There are three distributors that sell the Classmate in Germany. One is Unimall, but they only sell it to educational establishments. The other two are Wortmann and Tarox. I sold the one from Wortmann, because it was the only one available. It is called Terra Mobile 08EDU-III there.
I will just show some pictures here for now. Text will follow soon.
… ok, ok, it took much more time than expected. The reason is mainly that I was not able to get an independent Linux distribution working on the Classmate. Up to now I used a Ubuntu 8.04 distribution which was heavily customized for the Classmate. You can find the image here. But from now on, it is possible to install any Linux distribution you like. This is because with Kernel 2.6.34 there are driver for the Classmate included in the vanilla Kernel.
So I will describe here the status of my Debian testing installation and my customizations.
System overview
Intel Classmate Convertible
- Intel Atom N270 processor with 1,6 GHz
- Intel 950 graphics controller
- 1GB DDR2 SODIMM
- 8GB PATA 1,8” SSD
- 8,9” matt display, 1024 x 600 native resolution
- Touchscreen
- 2 USB 2.0 ports
- SD/MMC card reader
- 10/100 mbit/s Ethernet, Realtek
- Draft-N WLAN, Ralink RT3070
- 1,3 megapixel web cam, rotatable
- Sound
- 6 Cell Li-Ion battery, 7200mAh, 7.4V
- 241.4 x 209.3 x 29.5mm (w x h x d)
I have exchanged the SSD, which is a bit small, by a 60 GB 1,8” hard drive. You can reuse the cable that is used for the SSD. I also upgraded the RAM memory to 2 GB.
To give you more information of the hardware that is integrated into the Classmate I have uploaded the output of the lspci, lsusb and lsmod commands.
Basic installation
My favourite Linux distribution is Debian testing. So I installed it on the Classmate. The standard installation using the NetInstall CD worked well. I chose a minimal installation and installed “my” applications later. This way I get a small system that fits well on a Netbook. My favourite window manager is FVWM, so a default desktop installation would bring me too many of the Gnome or KDE libraries.
Kernel
The current default Kernel in Debian testing is 2.6.32. As mentioned above, the proper driver for the Classmate got
included in 2.6.34. So I had to compile my own Kernel. I had to use 2.6.34-rc5, because the final version was not
released yet (10.05.2010). You can find my Kernel configuration here. I added the parameters “video=i915:modeset=1”
to /etc/default/grub so that I get a proper resolution at boot time.
Update 02.08.2010
Kernel 2.6.35 was released. It is now possible to switch off the wireless LAN interface using Fn+F1. You can find my
new Kernel configuration here.
Wireless LAN
The build in RaLink RT2870 USB adapter is not fully supported by the vanilla Linux Kernel yet. But there is a driver
in the staging section. This driver works more or less. I have disconnects from time to time, but that’s ok. To get
the driver working, you have to copy the firmware file (rt2870.bin) from http://www.ralink.com.tw/support.php?s=2
(choose the USB version) to /lib/firmware/rt3070.bin. NetworkManager is able to handle this card.
Update 08.08.2010
With firmware version 22 I have no disconnects any more with Kernel 2.6.35. It looks very promising.
LAN
The Realtek RTL8101 chip is supported by the Kernel. Unfortunately it is not 100% stable. It is slow and has some packet loss from time to time. I did not check this further, because WLAN is more important to me.
Update 20.11.2010
I tried the driver from the Realtek homepage now. You can find it here. It seems to work much better than the r8169
from the Vanilla Kernel. Please note that it does not work with Kernel 2.6.36 yet. With 2.6.35 it is OK.
X11
Video
The Intel drivers included in the Kernel and Xorg work perfectly. Nothing to do here.
Touch screen
In Kernel 2.6.34 is a proper driver for the build-in eTurboTouch touch screen included. It works out of the box with Xorg.
Accelerometer
The Classmate has accelerometers included that recognize the position of the Netbook. Using this you can automatically rotate the screen image to landscape or portrait mode. This is what they have done for the Ubuntu distribution. To get the same in a standard Debian, I had to create some scripts.
First of all, I wrote a script that rotates the screen using xrandr. This script is required for two reasons. First I have to restart FVWM after changing from landscape to portrait mode (or vice versa), because FVWM does not automatically adapt to the new screen dimensions. This is not required for most other window managers, I think. Second, the touch screen needs to be rotated, too. This is not done automatically. This can be done using the tool xinput, which is a separate package in Debian. You can find the script rotate.sh here. Just call it with one of the parameters “normal”, “inverted”, “right” or “left”. If the script does not work for you, you might have to change the DEVICE variable in the script to the proper eTouchTurbo device id, see “xinput list” command.
The next part is a script that handles accelerometer events and calls my rotate script. The basic idea comes from this page: http://www.admindu.de/wordpress/?p=453. But I preferred to use Python instead of Perl. You need to have pygame installed, because this includes the joystick support. The accelerometer works like a joystick. Pygame is in the Debian repository and should be available in other repositories, too. There might be some fine tuning necessary for the axis parameters, but it basically works. You can download the script here. If you did not store the rotate script in your home directory, you have to adapt the path in the Python script.
Finally, we would like to start the accelerometer script automatically so that the screen rotation works without any
user interaction (except of moving the Netbbok). Starting it together with X is not an option, because in this case
it always rotates the screen, which is not desired for clamshell mode. So it should only be activated in tabled mode.
First I thought that I can use the information from the lid switch. But this does not work. The lid switch only works
when you close the screen in clamshell mode. In tablet mode the lid switch still says “open”. It took some time to
find the proper mechanism, because the tablet mode switch neither generates a key event nor an ACPI event. It is
handled as a HAL event instead. So I use halevt started together with FVWM under my user name. Halevt handles the
HAL event generated by the tablet mode switch and starts or kills the accelerometer script. You can download the
configuration file here. Just copy it to ~/.halevt and start halevt using the command halevt -c ~/.halevt/accel.xml
from the autostart mechanism of your desktop manager. If you did not store the accel.py script in your home directory,
you have to adapt the path in the halevt configuration file.
Power management
Suspend to RAM
Works.
Suspend to disk
Works.
CPU frequency scaling
Works with the ACPI driver acpi_cpufreq.
ACPI
ACPI is supported. There are some special keys that do not generate key events, but ACPI events. Other keys, like the ones to control the sound volume, generate normal key events and work out of the box.
For each ACPI event you can create a file in /etc/acpi/events with the following content:
1
2
event=[ACPI event name]
action=[script/program to call]
For all events except of WLAN I have created event files and scripts that you can download. Just copy the script to
/etc/acpi (check that it is executable) and the event definiton file to /etc/acpi/events. You should remove the .txt
extension from the event definition file names. The scripts should work after a restart of acpid.
Home button
This is the blue button next to the display. The ACPI event is named:
1
button/vendor VNDR 00000080 00000000
I use this button to toggle a virtual keyboard on my FVWM desktop. The ACPI script generates a key event for the F11 key. This is done using the program xte, which ich part of the xautomation package. There is a work-around in the script file. You have to adapt the XAUTHORITY environmen variable. This is required because xte can not connect to the X11 session without this.
Download: event file and script.
WLAN button
Key: Fn + F1
ACPI event: button/wlan WLAN 00000080 00000000
I have not found a way to disable the radio yet. Maybe something is missing in the driver from the staging tree.
Update 02.08.2010
With Kernel 2.6.35 it is possible to kill the wireless LAN radio using Fn+F1.
Sleep button
Key: Fn + F2
ACPI event: button/sleep SBTN 00000080 00000000
I have created a script that suspends the Classmate.
Download: event file and script.
Monitor output button
Key: Fn + F6
ACPI event: video/switchmode VMOD 00000080 00000000
My script just toggles the VGA output using xrandr.
Download: event file and script.
Brightness down
Key: Fn + F7
ACPI event: video/brightnessdown BRTDN 00000087 00000000
Download: event file and script.
Brightness up
Key: Fn + F8
ACPI event: video/brightnessup BRTUP 00000086 00000000
Download: event file and script.
Sound
The Intel HD audio chip works out of the box.
USB
Supported out of the box.
Card reader
Works.
Camera
Works out of the box.
Pictures
Here some pictures of the Classmate. At this time Ubuntu 8.04 was installed. There are some pictures comparing the Classmate to the Hercules eCafe EC-900.
Front view.
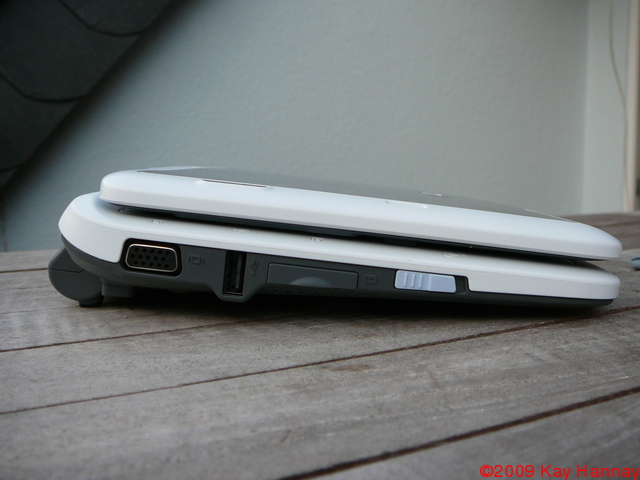
Left side view with VGA, USB, SD-Card and power button.
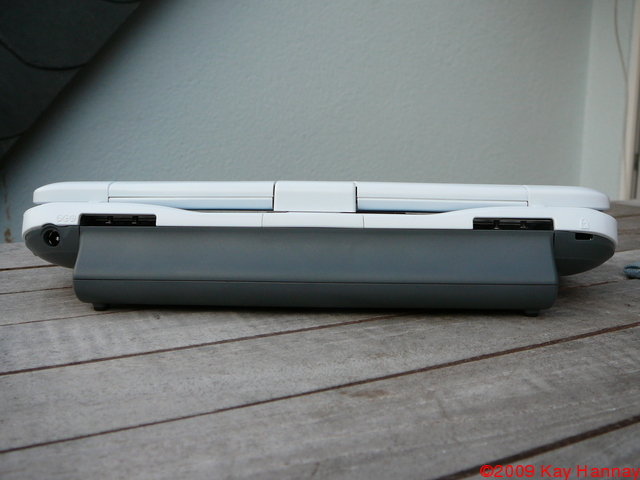
Rear view with power connector on the left and Kensington connector on the right.
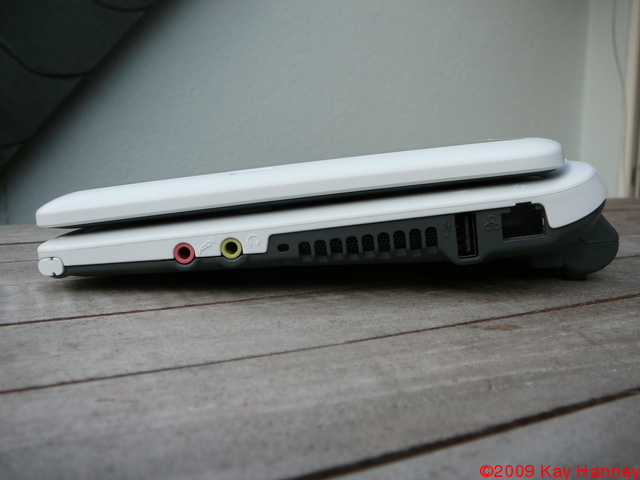
Right side with the pen, microphone, speaker, USB and Ethernet.
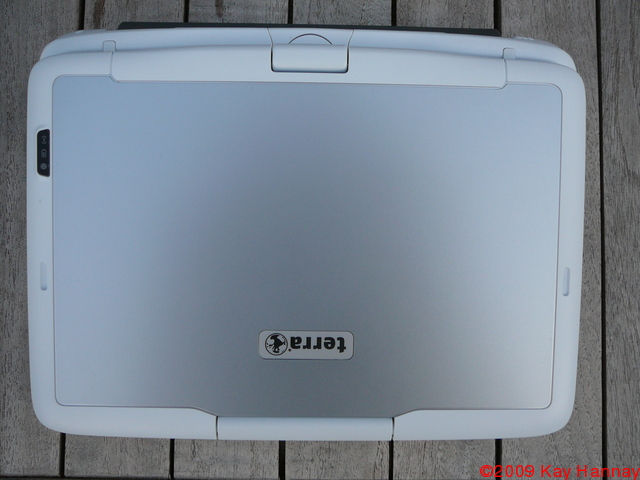
Top view. The dark area on the left are status LEDs.
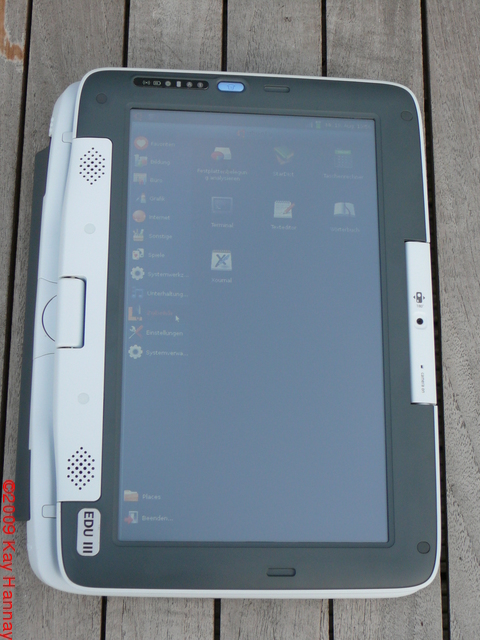
Classmate in tablet mode (picture was taken outside).
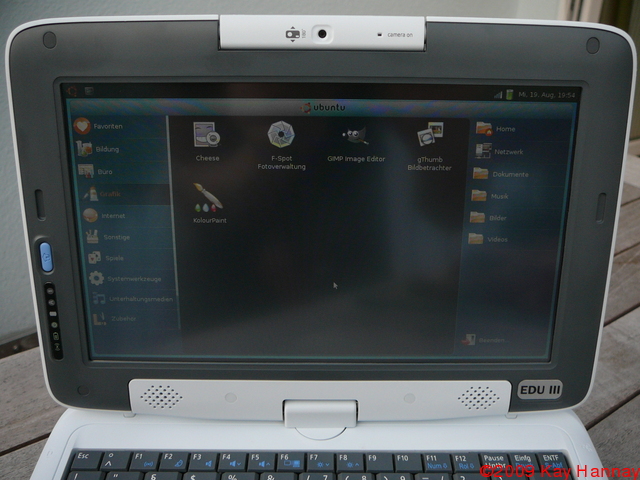
The display with the (rotatable) camera on the top, a “home” button and status LEDs on the left and the speakers on
the bottom. This picture was taken outside.
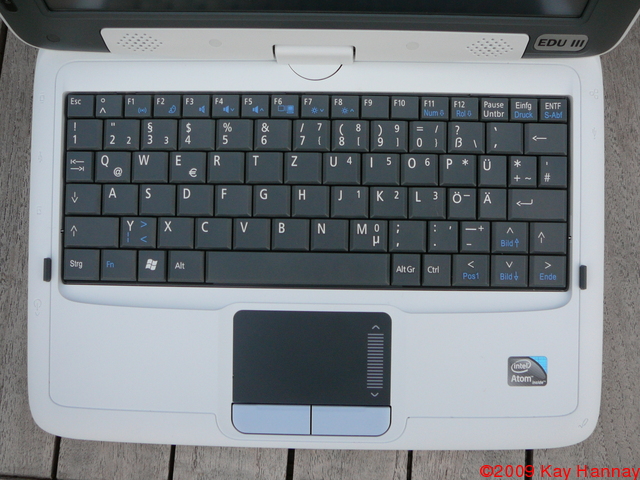
The keyboard and the touchpad.
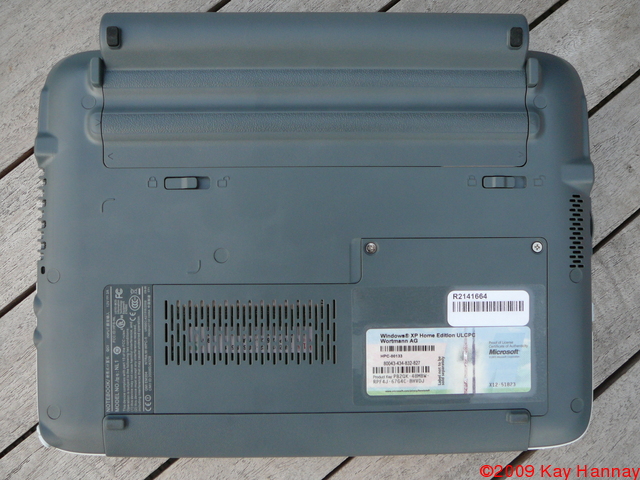
The bottom side.
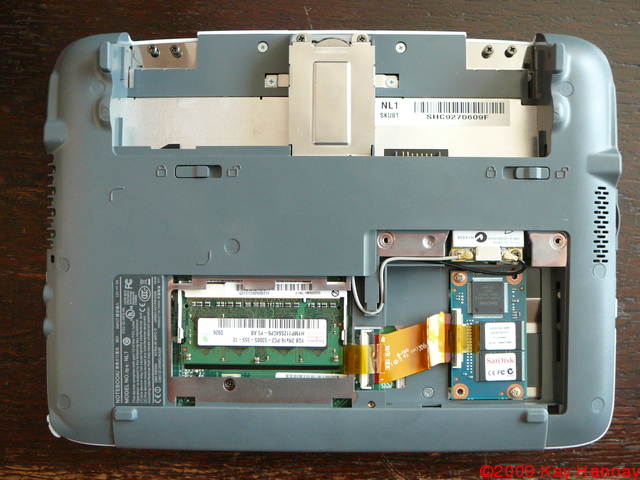
The buttom side with opened memory and SSD slots and removed battery.
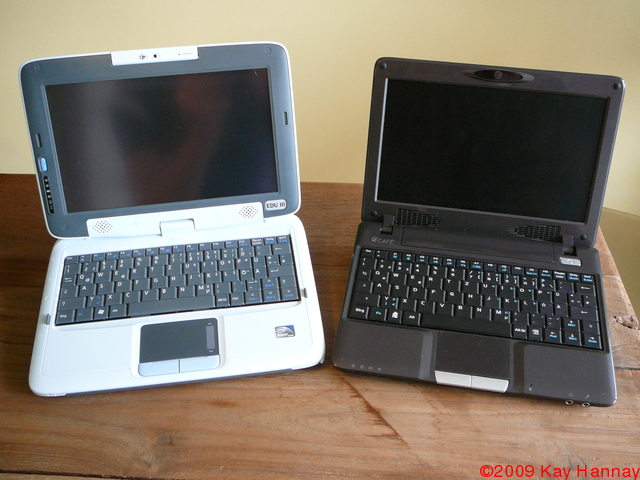
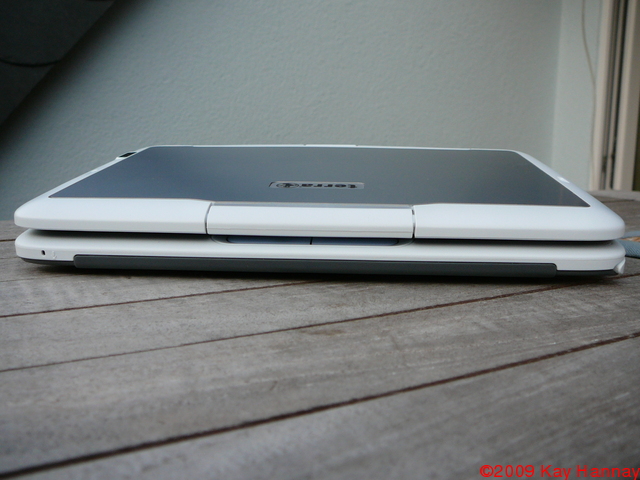
Classmate compared to eCafe
Classmate compared to eCafe, right view.
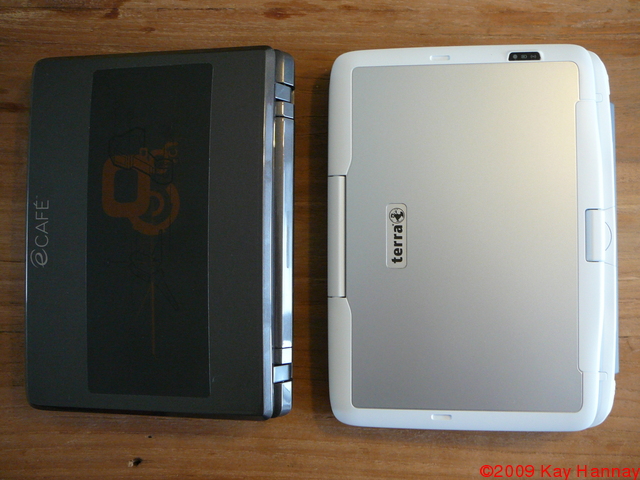
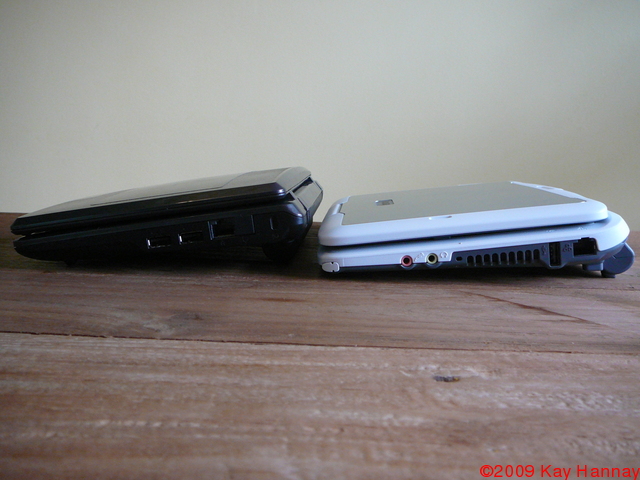
Classmate compared to eCafe, top view.